How to Use a Heating Pad for Lower Back Pain (Without Burning Yourself)
Heating pad therapy for back pain is effective when done right. Duration, temperature, positioning, and the moist-heat option each matter. Here's the proper protocol.
On this page
Heat for lower back pain is one of the most evidence-supported non-pharmacological interventions. Done correctly, a 20-minute session with a heating pad meaningfully reduces muscle tension and pain for 2-4 hours afterward. Done wrong, you can cause skin damage that’s worse than the back pain you started with.
The differences between right and wrong are small: pad size, barrier, temperature, duration. Here’s how to do it correctly.
What you need
- A heating pad. The Sunbeam XL 12 x 24-inch is our top pick.
- A thin cotton t-shirt or pillowcase as a barrier
- A timer (your phone works)
- A bed, couch, or recliner where you can lie flat for 20-30 minutes
The full session
Step 1: Position yourself
Lie on your back on a flat surface. Bend your knees with feet flat (this takes pressure off the lumbar spine) or extend them straight (whichever feels more comfortable for your specific pain pattern).
If you have severe acute pain, the side-lying fetal position with the heating pad on your low back is an alternative position that some users find easier.
Step 2: Place the pad
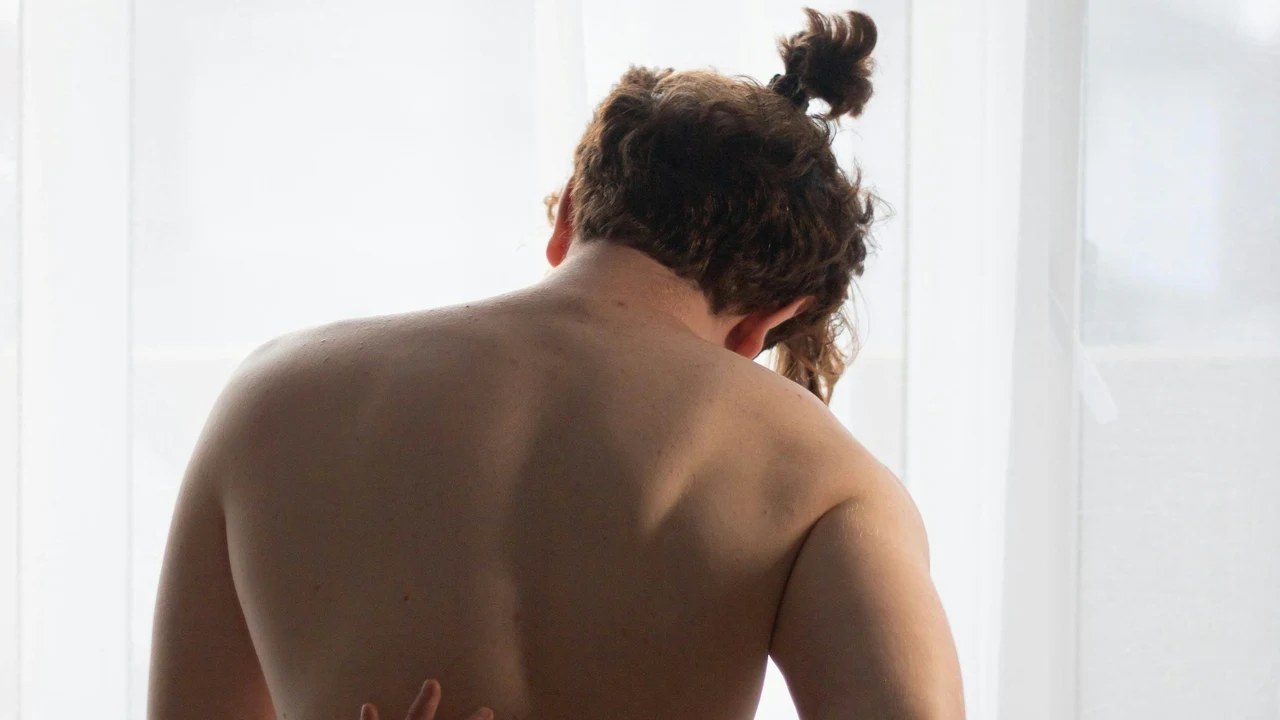
Position the heating pad horizontally across your lower back, centered on the most painful area. The 12 x 24 inch size should cover from the bottom of your rib cage to the top of your sacrum.
For lower back pain that radiates down to the upper buttocks (common with sacroiliac issues), position the pad slightly lower so it covers the SI joint area as well.
Step 3: Add a barrier
Place a thin cotton t-shirt or pillowcase between the heating pad and your skin. Never direct vinyl contact for therapeutic sessions.
The barrier:
- Prevents the sticky vinyl sensation
- Distributes heat more evenly
- Reduces the risk of skin damage from prolonged direct contact
For optional moist heat: dampen the included sponge insert (Sunbeam ships with one) with warm water. Place the sponge between you and the pad. Moisture penetrates deeper.
Step 4: Set the temperature
For most lower back pain, medium heat (around 140°F) is the right setting. This produces a comfortable, sustained warmth that you can tolerate for 20-30 minutes.
For users with:
- Sensitive skin or diabetic neuropathy: low heat (110°F)
- Acute spasm that needs aggressive warming: high heat (170°F) for the first 5-10 minutes only, then step down to medium
Don’t use high heat for the full 20-minute session. The combination of sustained high heat and 20+ minutes is the recipe for skin damage.
Step 5: Set a timer
Set your phone for 20 minutes. The Sunbeam’s auto-shutoff at 2 hours is a safety net for falling asleep, not your default session length.
Therapeutic dose is 15-30 minutes. Beyond 30 minutes:
- Diminishing pain-relief returns
- Increased risk of skin irritation
- Risk of “toasted skin syndrome” (permanent reticular pattern of skin pigmentation)
Step 6: Rest, don’t work
Use the 20 minutes for actual rest. Don’t watch a screen with active engagement, don’t take a work call, don’t get up to do something. Let the heat do its work while your nervous system also gets to settle.
For lower back pain specifically, the combination of heat + supine rest + slow breathing produces better outcomes than heat alone.
Step 7: After the session
Remove the pad. Get up slowly (cold floor + 20 minutes of warmth can briefly disorient).
If you have a heavy day of activity ahead, light gentle movement after the session helps consolidate the benefits. Walk around for a few minutes; do some gentle stretches.
If you’re going to bed, the post-session relaxation is a good lead-in to sleep.
Frequency
For acute lower back pain (first week of an episode):
- 2-4 sessions per day
- Minimum 1 hour between sessions
- Continue until pain reduces meaningfully
For chronic lower back pain (ongoing pattern):
- 1-2 sessions per day during flares
- Daily evening session is fine for maintenance
- Less needed once pain stabilizes
For preventive use (no current pain, just maintenance):
- 2-3 sessions per week
- Combine with stretching afterward to extend benefits
When to combine with other interventions
Heat works well with:
- Stretching. Heat first, then stretch. Warmed tissue stretches better.
- Gentle movement. After heat, walk around or do light cat-cow stretches.
- Foam rolling. Heat the muscles, then roll. The tissue is more compliant.
- Manual therapy. Heat before a massage or PT session improves their effectiveness.
Heat doesn’t combine well with:
- TENS sessions. Don’t apply heat while pads are on; changes conductivity unpredictably. Separate the sessions.
- Topical analgesic creams (Bengay, IcyHot, etc.). Heat plus capsaicin or menthol can cause skin burns. Wait at least 1 hour between application of one and the other.
When to use ice instead
Heat is right for:
- Chronic muscle tension and stiffness
- Pre-activity warmup
- Stress-related muscle tightness
- Arthritis pain
Ice is right for:
- Acute injury (first 48-72 hours)
- Significant swelling or inflammation
- Sharp, recent-onset pain
- Pain that worsens with heat
For mixed patterns: ice first to reduce inflammation, then heat after the acute phase.
What heat won’t do
Setting expectations:
- Won’t heal structural problems. Heat is symptomatic management; it doesn’t repair discs, fix stenosis, or change degenerative changes.
- Won’t substitute for strengthening. Daily heat without core and back strengthening produces only short-term relief.
- Won’t help during an acute inflammatory flare. Sometimes inflammation worsens with heat; switch to ice in that case.
- Won’t replace medical care for serious back pain. Heat helps; it doesn’t substitute for diagnosis.
Safety: who shouldn’t use heat
Some users should avoid heat or use it carefully:
- Diabetics with neuropathy. Reduced skin sensation means you might not feel a pad that’s too hot. Use low setting only; check skin frequently.
- Pregnant women. Generally fine on the back, but avoid extended heat on the abdomen, especially in the first trimester. Consult your OB.
- People with deep vein thrombosis (DVT). Heat increases blood flow, which can dislodge a clot. Don’t use heat over an area with diagnosed or suspected DVT.
- Open wounds or recent surgery sites. Heat can interfere with healing.
- Children under 5. Their skin is more vulnerable; supervise carefully or use lower temperatures.
- People with circulatory disorders. Reduced blood flow can mean reduced ability to dissipate heat from the skin.
When in doubt, ask your provider.
Recognizing toasted skin syndrome
Erythema ab igne (toasted skin syndrome) is permanent skin pigmentation change from prolonged heat exposure. Signs:
- Reticular (net-like) pattern of red or brown discoloration on the heated area
- Mild itching or burning in the affected area
- Skin texture changes (slight thickening)
Once it develops, the pigmentation can persist for years or be permanent. The fix: stop using heat in that area; the skin may slowly normalize over months.
The way to avoid it: 15-30 minute sessions, never longer; medium heat as default; never sleep on a heating pad; use the barrier; take breaks (at least 1 hour) between sessions.
For our gear recommendation
See our Sunbeam XL Heating Pad review for the top pick, and Best Heating Pads of 2026 for the broader category.
Final word
Heat for lower back pain works. The right protocol: 12 x 24 inch pad covering the full lumbar area, thin cotton barrier between pad and skin, medium temperature setting, 20-minute timer.
Optional moist heat for deeper penetration. Optional combination with stretching afterward.
Most importantly: don’t sleep on a heating pad, don’t exceed 30 minutes per session, and don’t use heat over an acute injury within the first 48 hours.
Combine with strengthening, stretching, and core work for lasting back pain improvement. Heat alone manages symptoms; the combination addresses the underlying pattern.
Not medical advice. We publish consumer product reviews; consult a licensed PT before changing your routine. We earn commissions on qualifying Amazon purchases.